Instructions for putting in a new floor mat
A) Firstly loosen off both adjusters for the chain near the front of your Spreader.
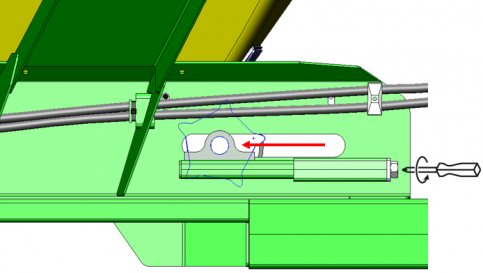
B) Take off the skirts on on both sides.
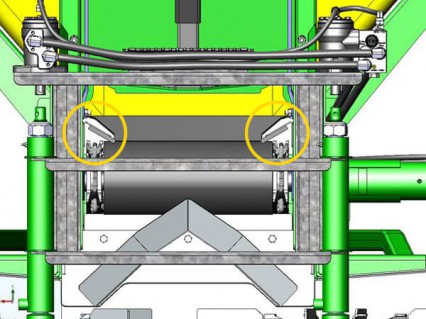
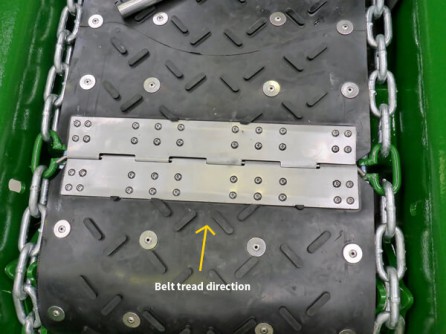
C) Put the floor mat underneath the Spreader. Make sure the bars are facing up. The tread is always in the direction shown below. The arrow shows the direction the belt moves.
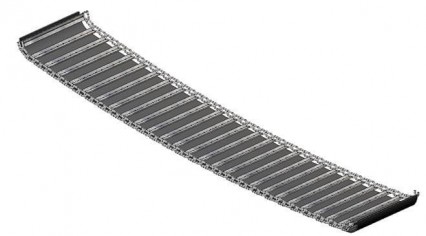
MACHINE DRAWBAR THIS END
D) Put both chains over both sprockets at the front first, then through the hopper and feed across the two sprockets at the back, then under the Spreader to the middle.
E) Combine both ends of the chains with the offset joiners provided.
F) When you add the joiners make sure the bolts are pointing away from the mat as shown.
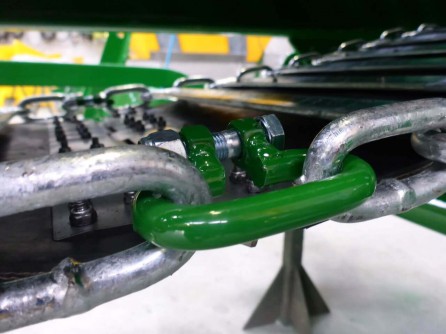
G) Slip the joining wire across the fastner and using pliers bend both ends around (forty-five degrees).
H) The mat needs to be tightened up until there is a slight sag in chain at the middle (approximately forty millimetres from the horrizontal of the chassis to the horrizontal of the chain).
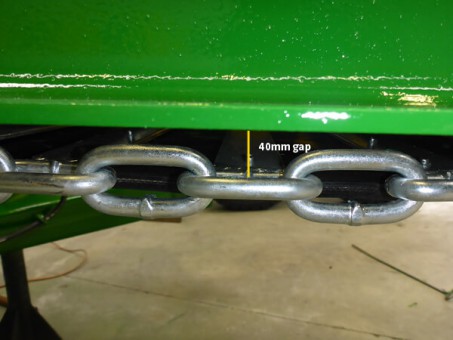
I) Put eight rivets with their washers into the holes provided and fix in place. This will attach the mat to the bars on both sides of the joiner.
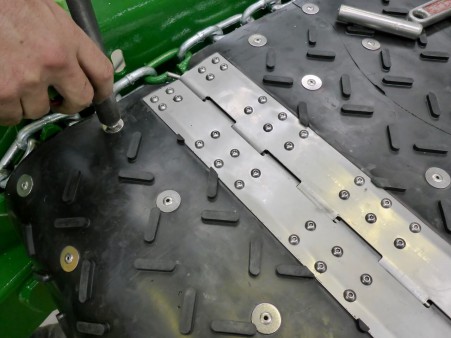
J) Lastly, when you are attaching the skirt assemblies, there should be no gaps between the rubbers and the belt. If you notice any daylight appearing over the years please make sure these are moved down so they are firmly against the mat.
Anything else required? Ph +64 7 847 8492.